In my last post, I included a composite image of a firework exploding. In today’s post, I’ll explain how I did it. If you’d like to follow along, I’ve included the starting images at the bottom of this post. Simply right-click to download. You can use as few as two images, or all of them, with this method. You will need Adobe Photoshop CC or an extended version of an earlier Photoshop to follow along.
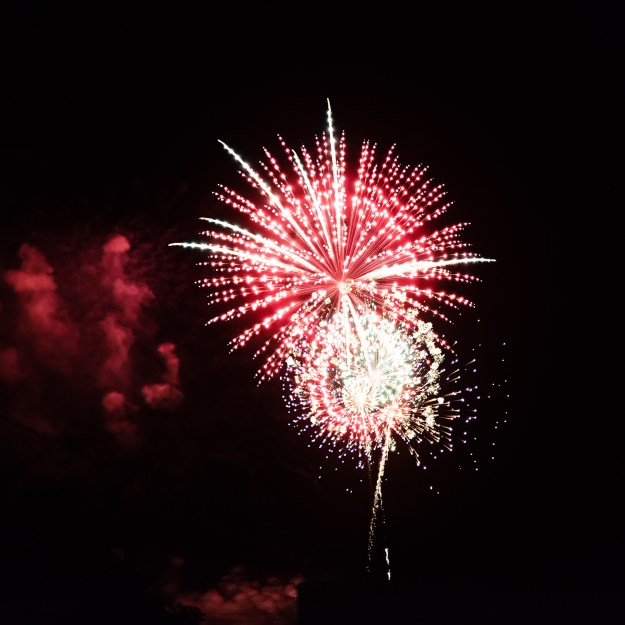
The final product! Read below for my methods!
Step 1: Get photographs to composite
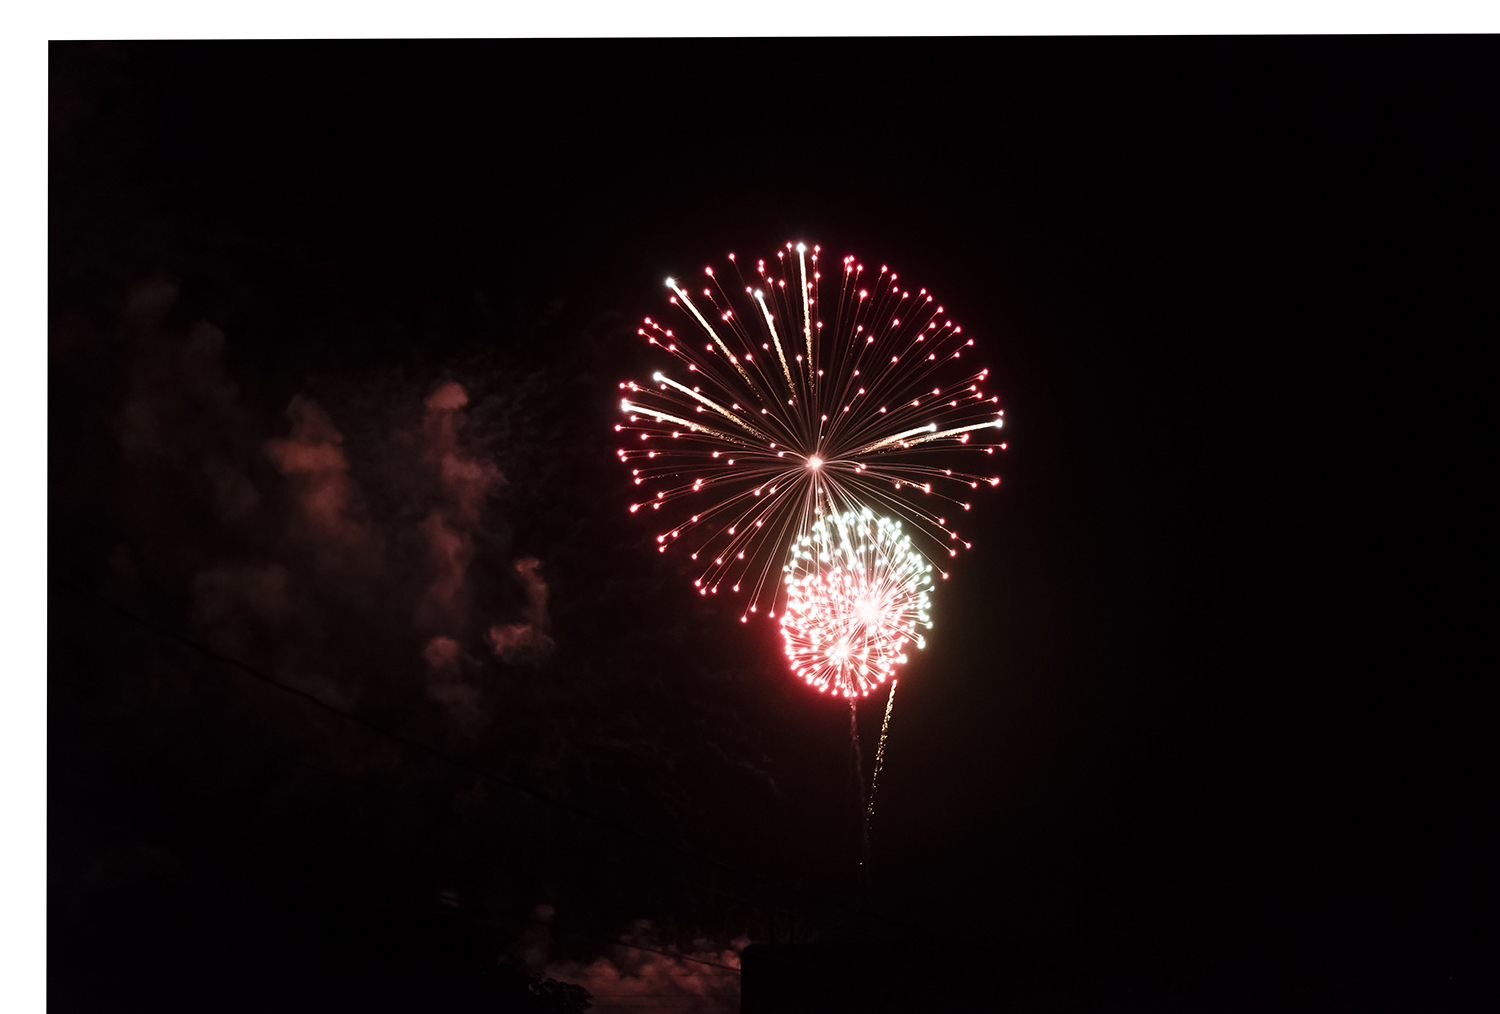
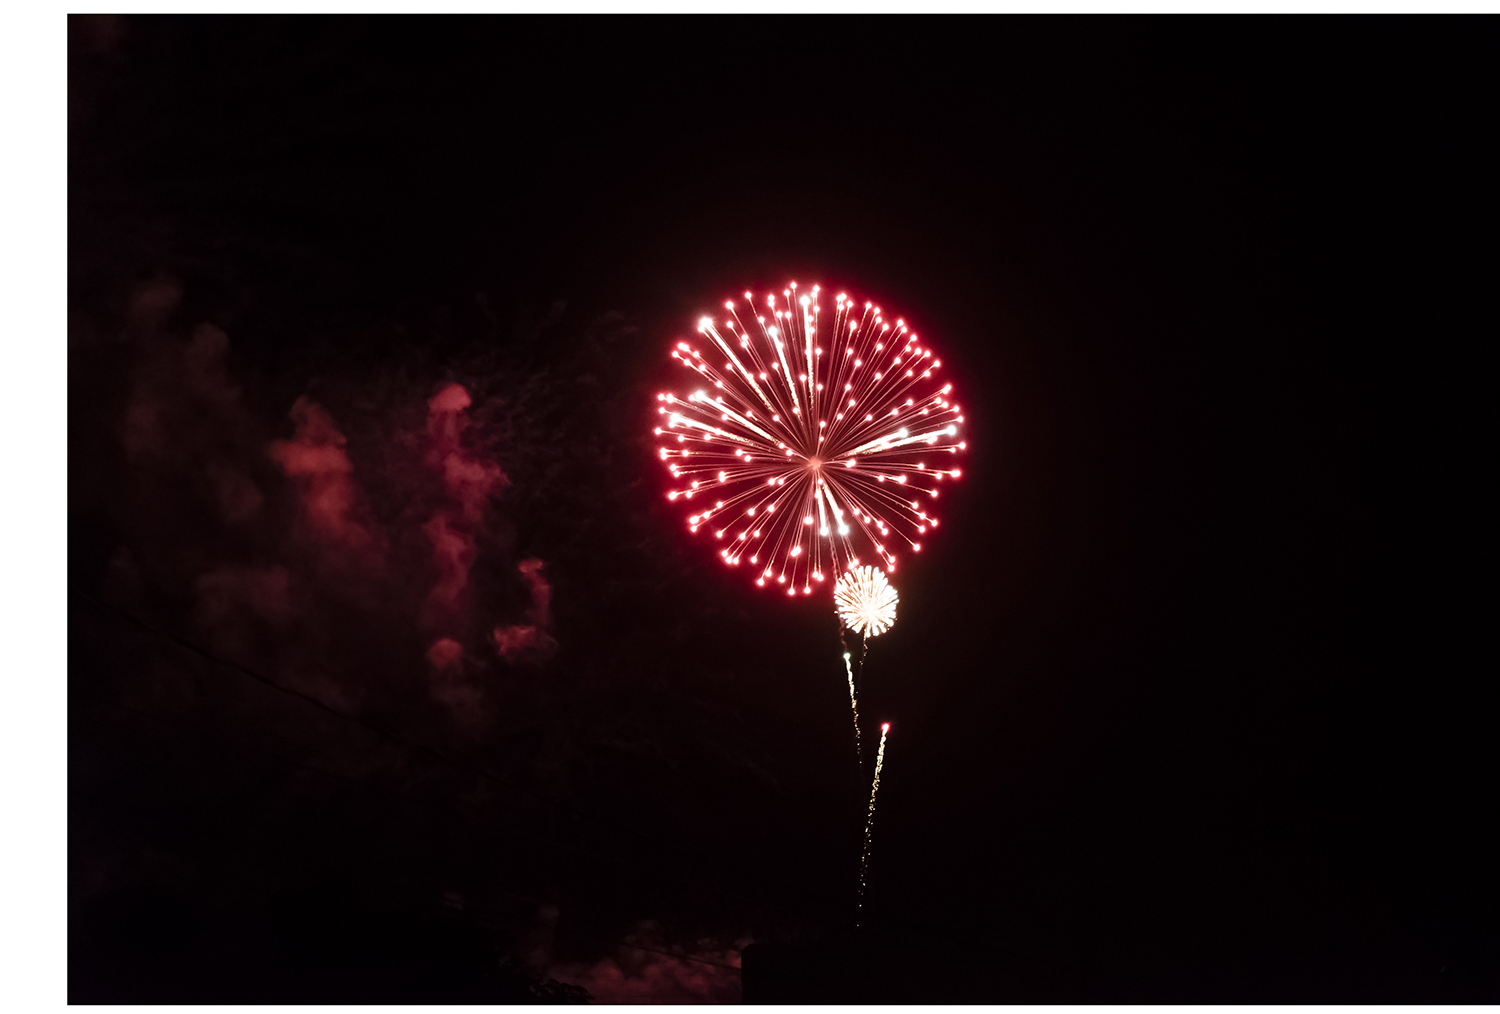
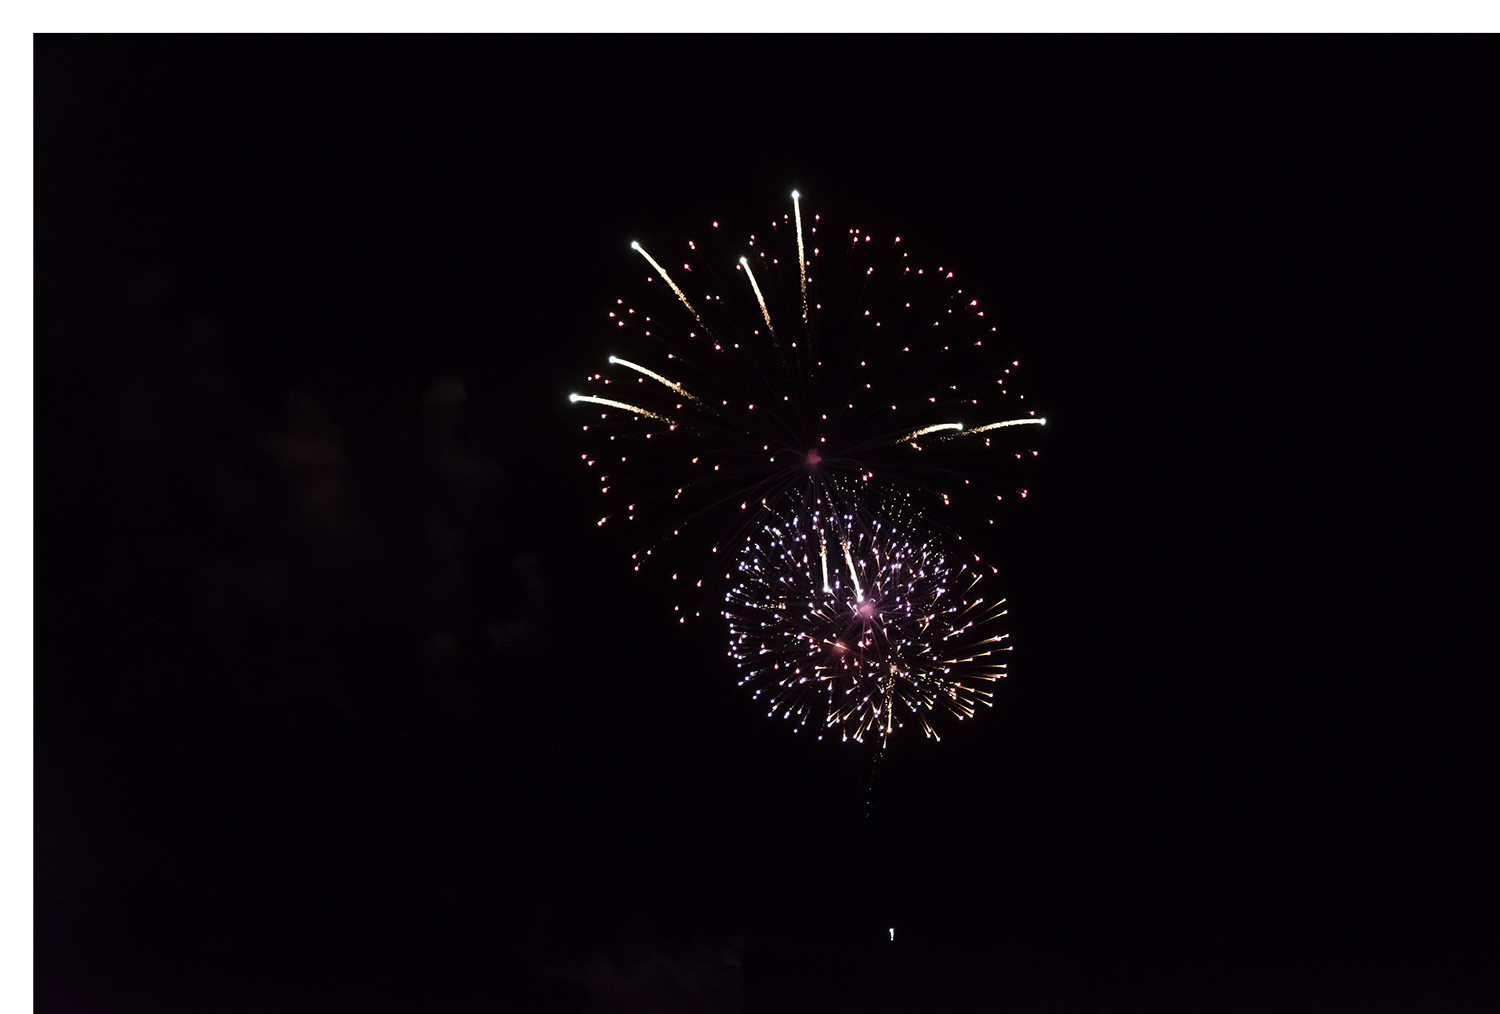
To create a composite image, you first need the images to composite! My images are below, and if you prefer to use them, you can skip this section. If you’d like to use your own images, you’ll have to capture them! In this section, I give all the nitty-gritty shooting details; you can also skip ahead if you know how to shoot an exploding firework.
You will need a DSLR, and you will need to know how to change settings like ISO, aperture, speed, exposure bias and your shooting modes. First, fireworks are dim and you will need to make sure your sensor gets all the light it can; I turned up my ISO to 12800 and opened my aperture all the way to f/2.8. (A side note about ISO: your camera may not go up to ISO 12800. My other camera tops out at 3200, and I find the images unpleasantly noisy above ISO 1600. I’ve still taken good fireworks shots with that camera. You may want to turn down exposure bias more than I have, and a tripod is a great asset.) Second, I turned the exposure bias down for several reasons: (1) to avoid blowing the highlights, (2) to allow a faster shutter speed, and (3) because an image of fireworks against a dark sky is a dark image, and a low exposure bias accurately reflects this. I turned the exposure setting down two brightness stops. I shot in aperture priority mode with a fixed ISO and a camera-calibrated speed. You could also fix the speed and allow the ISO to vary. With the settings above, the exposure times were 1/250 sec and 1/400 sec for the nine images. I shot in speed priority continuous shooting mode. I shoot with a Sony Alpha 7s– when shooting in RAW mode (rather than a compressed JPEG mode), it takes 5 frames per second. I took these shots using a monopod. A tripod can allow you more flexibility with your shot settings. I shot these images at a focal length of 72 mm and the Alpha 7s doesn’t have image stabilization, so I wanted my shutter speed to be 1/100 second or faster.
Phew, got all that?
Step 2: Prepare images for composite
Open your images as layers in Photoshop. (Consult this link if you’re uncertain how to open images in layers.) The order of the layers doesn’t matter at all.
The images must be aligned. If you shot using a tripod, you’re probably good. If not, there are two ways to align your images– the easy way and the hard way. If you are using my images, I have already aligned them for you.
The easy way: Auto-Align Layers Select all your layers. Then go to the edit menu and select “Auto-Align Layers”, as in the image below. Select the “Auto” projection in the dialogue box, then click okay. This method will work if there is an object in all the images that Photoshop can recognize and align, say the corner of a building. Sadly, Auto-Align didn’t work for my images. So it was on to the hard method.

The hard way: manually aligning layers This method is more slow than hard. (Still harder than the easy way, though!) Change the opacity of the second layer, and visually align it to the bottom layer using the move tool. You can get the move tool by pressing “v”. I’ve circled it on the tool panel in the image below. On the layer panel, I’ve circled the opacity settings too. I set the blend mode to “Difference”, which makes the differences between the two layers the brightest. Then I visually lined up the center of the explosion, as I show in the first image below. The second image shows the same view before manual alignment.
If you have more than two layers, as I do in the full-sized image, work your way up from the bottom, and use the “Difference” blending mode to align each layer to the bottom layer. Remember to put all your blending modes back to “Normal”!
After manipulation:
Before manipulation:
Step 3: Creating the composite
Now that your layers are aligned, it’s time to put them together! Woo! This is a two-step process. First, create a Smart Object from your layers, and then set the Smart Object Stack Mode to “Maximum.”
Creating a Smart Object Select all your layers. Then go to the Layer menu, go down to Smart Objects, and select “Convert to Smart Object.” (See the first image below.) A Smart Object is a kind of envelope Photoshop uses to perform certain tasks. They’re great! You can read more about them here. Here, we need to make a Smart Object so we can use the Smart Object Stack Modes. After you create the Smart Object, you will only see one layer, and it will have the page icon that I’ve circled in red in the second image below. If you ever want to interact with the layers again, say to change the alignment, you just double-click on the Smart Object. We’ll do just that in Step 4 of this tutorial.
Before making the Smart Object:
After making the Smart Object:
Setting the Smart Object Stack Mode Now you have a Smart Object! In Photoshop CC and in the extended versions of previous Photoshops, you have access to a number of Stack Modes. As in the first image below, go to the Layer menu, then Smart Object, the Stack Mode, then Maximum. (Later, you can play with other Stack Modes, but for now, choose Maximum.) The Maximum Stack Mode looks at each pixel of the image and selects the highest luminance value for that pixel amongst all the images in the stack.

When you use all 9 images that I provide (rather than 2, as above), you’ll get the image below. Which is pretty fun! Because each pixel is the brightest of all the 9 layers, we get a sort of stop motion slo-mo image. And we can make it even better!

Step 4: Refining the composite
I think the middle of the fireworks is too muddled in the image above. I can’t do anything to alter the Stack Mode logic, but I can change the layers that it makes its choices from. And that’s exactly what I’m going to do!
Double click on the Smart Object image to open the contents of the Smart Object in another tab. You can change the Blending Modes and Opacity (green circle), or you can reduce the opacity of certain parts of each image using Layer Masks. You can create a Layer Mask by clicking the icon in the yellow circle. The Layer Mask for one layer is shown in the red circle on the bottom right. Click it to select it, which allows you to paint into the Layer Mask. Where you paint in darker colors, the image will become more transparent. Learn more about Layer Masks here. You can also perform other layer adjustments, such as Levels or Exposure. I prefer to do such adjustments in Lightroom before I even go to Photoshop, but there are no wrong answers.
If you ever want to see the effects of your changes on the final product, simply save your changes to the content of the Smart Object, and go back to the tab that shows the Smart Object. 
Resources
Click here to go to the Flickr folder of full-sized images, or use the smaller images below.