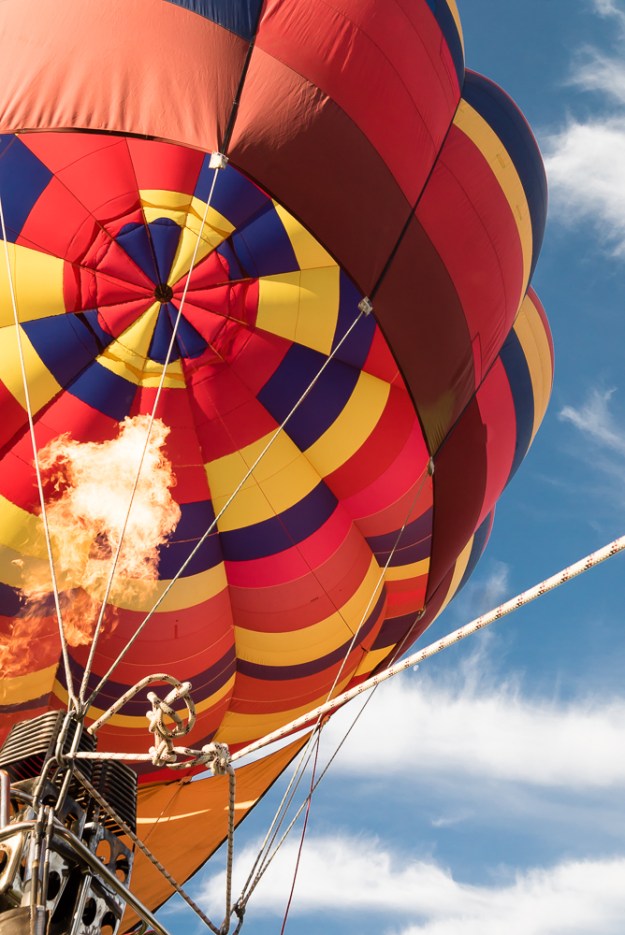
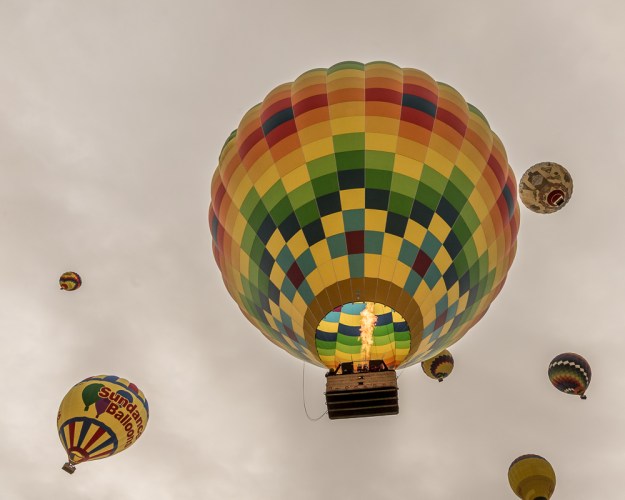
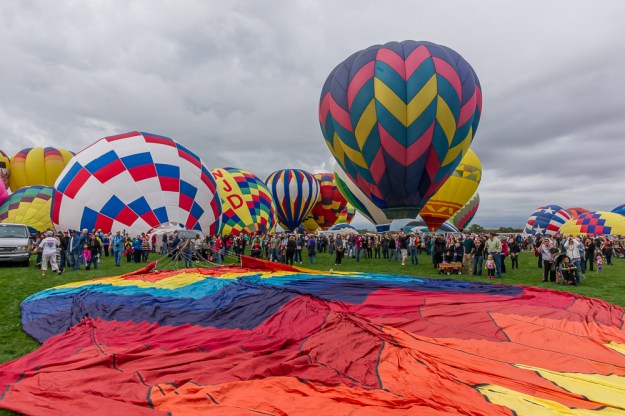
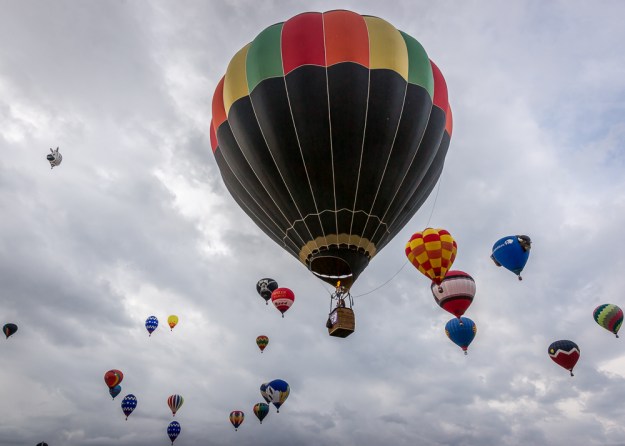
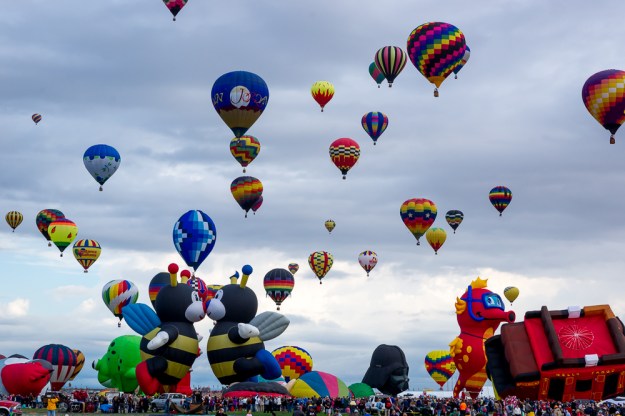
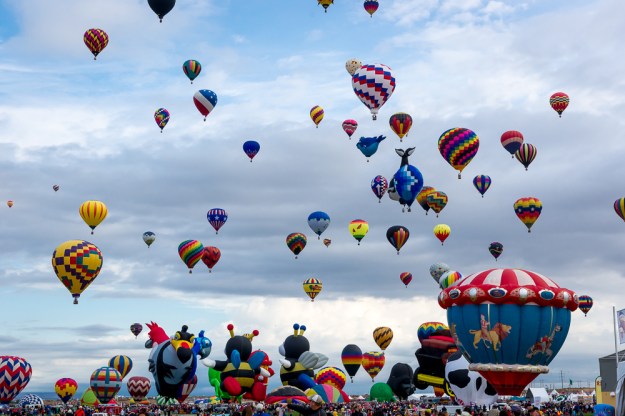
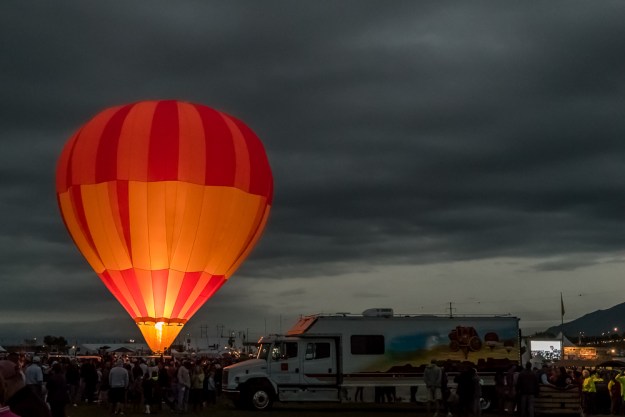
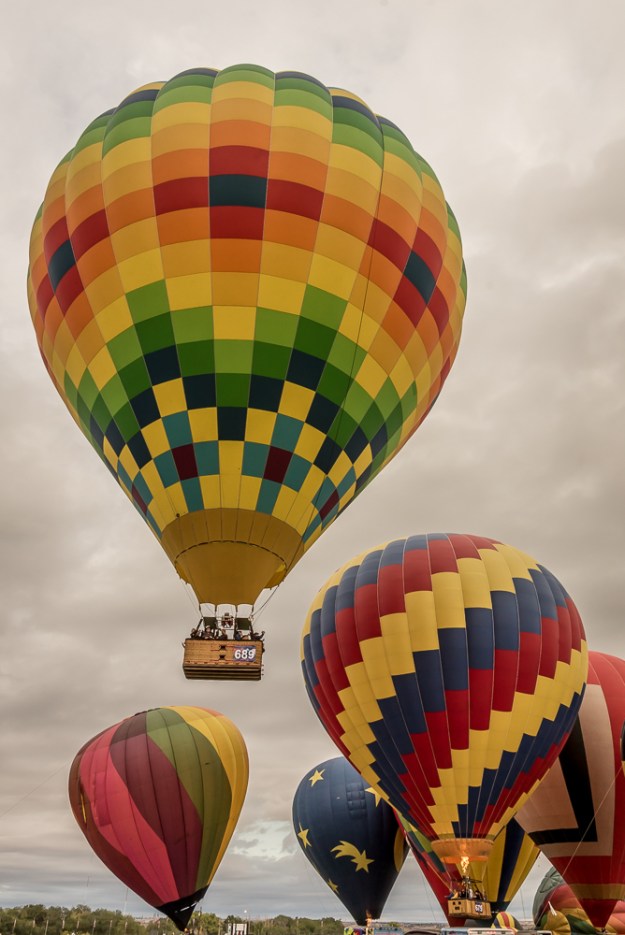
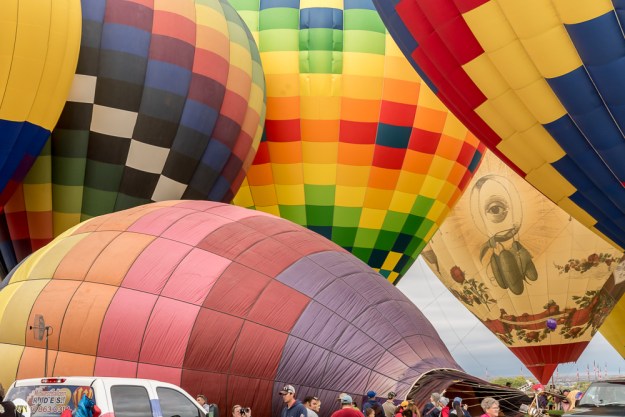
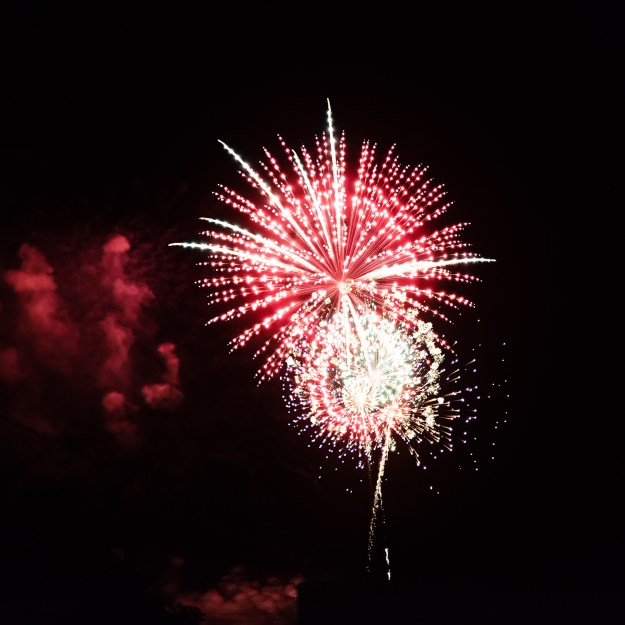
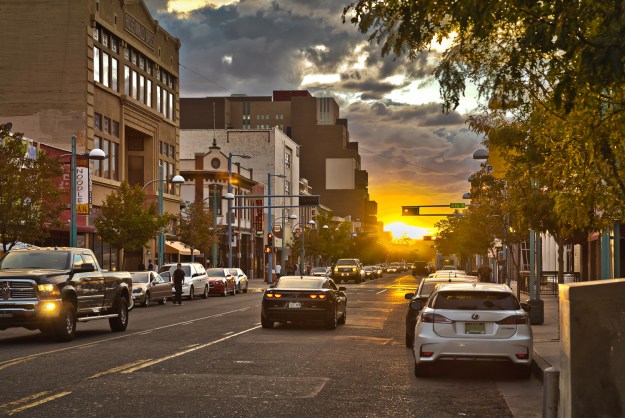
Guess what I’ve been doing all week? Crippling my computer with photo editing! Yesterday the 44th annual Albuquerque International Balloon Fiesta closed. And what a spectacle it was. No small wonder it’s sponsored by Canon. I would say more or describe more, but I am running on empty. So let these amazing images do the talking for me.
Category Archives: Photography

A million views and a thousand balloons
Early this morning, my Flickr page crossed over the one million views threshold. Which is pretty exciting! I started my Flickr page almost exactly eight years ago, just after I got my first DSLR. Since then, I’ve taken a lot of pictures and learned a ton, and had a blast doing it.
And early yesterday morning, I biked to the Albuquerque International Balloon Fiesta, one of the biggest hot air balloon gatherings in the world. It. Was. Amazing. The bike ride, the balloons, the launches, EVERYTHING. It was one of the most fun things I’ve done, and easily one of most exciting things to photograph. I took about 1500 photos (though a lot of them were duplicates to hedge my exposure bets). It’s been a wonderful weekend!
Happy Lunar Eclipse!
Tutorial: Playing with Fireworks (in Photoshop)
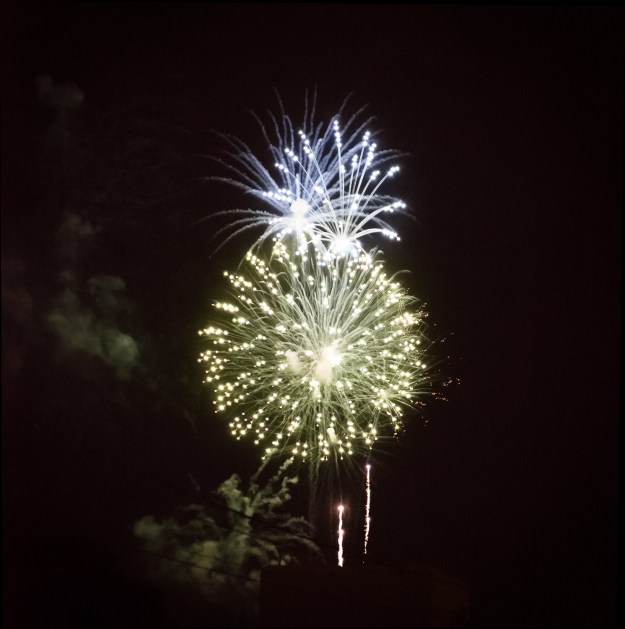
In my last post, I included a composite image of a firework exploding. In today’s post, I’ll explain how I did it. If you’d like to follow along, I’ve included the starting images at the bottom of this post. Simply right-click to download. You can use as few as two images, or all of them, with this method. You will need Adobe Photoshop CC or an extended version of an earlier Photoshop to follow along.
Step 1: Get photographs to composite
To create a composite image, you first need the images to composite! My images are below, and if you prefer to use them, you can skip this section. If you’d like to use your own images, you’ll have to capture them! In this section, I give all the nitty-gritty shooting details; you can also skip ahead if you know how to shoot an exploding firework.
You will need a DSLR, and you will need to know how to change settings like ISO, aperture, speed, exposure bias and your shooting modes. First, fireworks are dim and you will need to make sure your sensor gets all the light it can; I turned up my ISO to 12800 and opened my aperture all the way to f/2.8. (A side note about ISO: your camera may not go up to ISO 12800. My other camera tops out at 3200, and I find the images unpleasantly noisy above ISO 1600. I’ve still taken good fireworks shots with that camera. You may want to turn down exposure bias more than I have, and a tripod is a great asset.) Second, I turned the exposure bias down for several reasons: (1) to avoid blowing the highlights, (2) to allow a faster shutter speed, and (3) because an image of fireworks against a dark sky is a dark image, and a low exposure bias accurately reflects this. I turned the exposure setting down two brightness stops. I shot in aperture priority mode with a fixed ISO and a camera-calibrated speed. You could also fix the speed and allow the ISO to vary. With the settings above, the exposure times were 1/250 sec and 1/400 sec for the nine images. I shot in speed priority continuous shooting mode. I shoot with a Sony Alpha 7s– when shooting in RAW mode (rather than a compressed JPEG mode), it takes 5 frames per second. I took these shots using a monopod. A tripod can allow you more flexibility with your shot settings. I shot these images at a focal length of 72 mm and the Alpha 7s doesn’t have image stabilization, so I wanted my shutter speed to be 1/100 second or faster.
Phew, got all that?
Step 2: Prepare images for composite
Open your images as layers in Photoshop. (Consult this link if you’re uncertain how to open images in layers.) The order of the layers doesn’t matter at all.
The images must be aligned. If you shot using a tripod, you’re probably good. If not, there are two ways to align your images– the easy way and the hard way. If you are using my images, I have already aligned them for you.
The easy way: Auto-Align Layers Select all your layers. Then go to the edit menu and select “Auto-Align Layers”, as in the image below. Select the “Auto” projection in the dialogue box, then click okay. This method will work if there is an object in all the images that Photoshop can recognize and align, say the corner of a building. Sadly, Auto-Align didn’t work for my images. So it was on to the hard method.
The hard way: manually aligning layers This method is more slow than hard. (Still harder than the easy way, though!) Change the opacity of the second layer, and visually align it to the bottom layer using the move tool. You can get the move tool by pressing “v”. I’ve circled it on the tool panel in the image below. On the layer panel, I’ve circled the opacity settings too. I set the blend mode to “Difference”, which makes the differences between the two layers the brightest. Then I visually lined up the center of the explosion, as I show in the first image below. The second image shows the same view before manual alignment.
If you have more than two layers, as I do in the full-sized image, work your way up from the bottom, and use the “Difference” blending mode to align each layer to the bottom layer. Remember to put all your blending modes back to “Normal”!
Step 3: Creating the composite
Now that your layers are aligned, it’s time to put them together! Woo! This is a two-step process. First, create a Smart Object from your layers, and then set the Smart Object Stack Mode to “Maximum.”
Creating a Smart Object Select all your layers. Then go to the Layer menu, go down to Smart Objects, and select “Convert to Smart Object.” (See the first image below.) A Smart Object is a kind of envelope Photoshop uses to perform certain tasks. They’re great! You can read more about them here. Here, we need to make a Smart Object so we can use the Smart Object Stack Modes. After you create the Smart Object, you will only see one layer, and it will have the page icon that I’ve circled in red in the second image below. If you ever want to interact with the layers again, say to change the alignment, you just double-click on the Smart Object. We’ll do just that in Step 4 of this tutorial.
Before making the Smart Object:
After making the Smart Object:
Setting the Smart Object Stack Mode Now you have a Smart Object! In Photoshop CC and in the extended versions of previous Photoshops, you have access to a number of Stack Modes. As in the first image below, go to the Layer menu, then Smart Object, the Stack Mode, then Maximum. (Later, you can play with other Stack Modes, but for now, choose Maximum.) The Maximum Stack Mode looks at each pixel of the image and selects the highest luminance value for that pixel amongst all the images in the stack.
When you use all 9 images that I provide (rather than 2, as above), you’ll get the image below. Which is pretty fun! Because each pixel is the brightest of all the 9 layers, we get a sort of stop motion slo-mo image. And we can make it even better!
Step 4: Refining the composite
I think the middle of the fireworks is too muddled in the image above. I can’t do anything to alter the Stack Mode logic, but I can change the layers that it makes its choices from. And that’s exactly what I’m going to do!
Double click on the Smart Object image to open the contents of the Smart Object in another tab. You can change the Blending Modes and Opacity (green circle), or you can reduce the opacity of certain parts of each image using Layer Masks. You can create a Layer Mask by clicking the icon in the yellow circle. The Layer Mask for one layer is shown in the red circle on the bottom right. Click it to select it, which allows you to paint into the Layer Mask. Where you paint in darker colors, the image will become more transparent. Learn more about Layer Masks here. You can also perform other layer adjustments, such as Levels or Exposure. I prefer to do such adjustments in Lightroom before I even go to Photoshop, but there are no wrong answers.
If you ever want to see the effects of your changes on the final product, simply save your changes to the content of the Smart Object, and go back to the tab that shows the Smart Object. 
Resources
Click here to go to the Flickr folder of full-sized images, or use the smaller images below.
Exploring Albuquerque
Albuquerque’s a great place to explore with a camera. The weather’s cooperative, mostly, with consistent lighting and low humidity. There’s a great balance of industry and nature, gaudy and dilapidated, geometric and organic. There aren’t many trees, so there are more opportunities for sweeping vistas, often punctuated by mountains or volcanoes. There’s even a great chance you’ll catch something awesome in the sky, be it a flyover from the air force base or a hot air balloon. So this weekend I explored Albuquerque–not the surrounding area– on a photo tour.
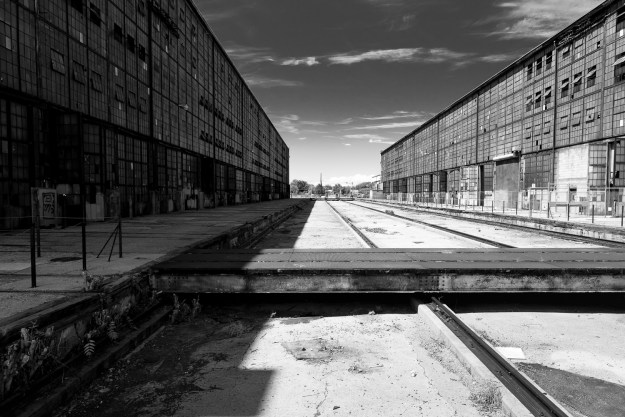
Abandoned buildings in the Albuquerque railyards, which once employed 40% of the city. Part of it now hosts a Sunday market.
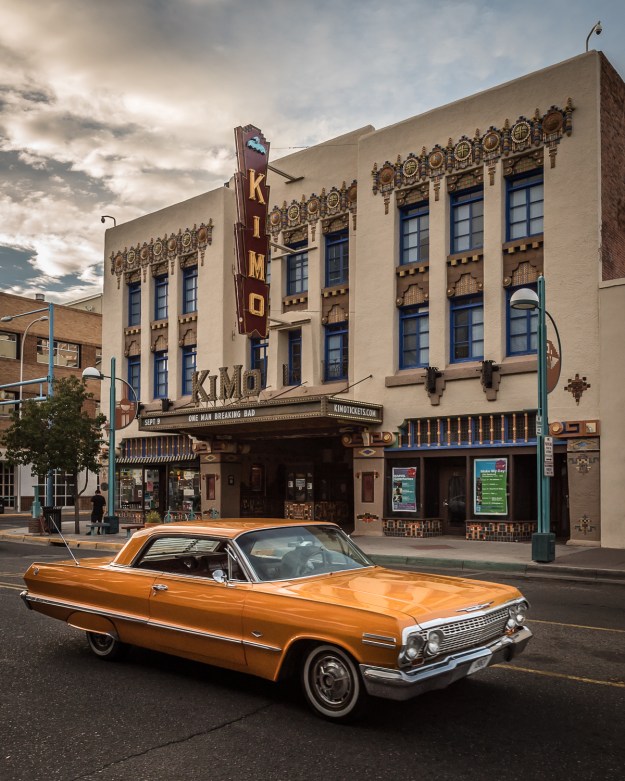
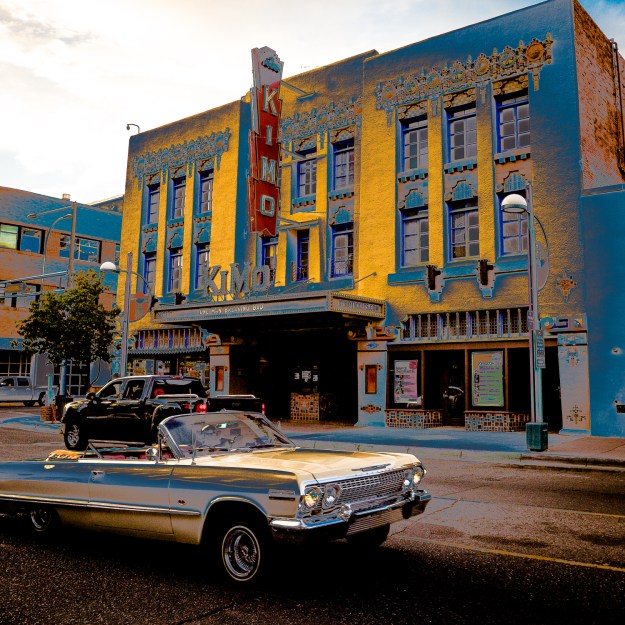
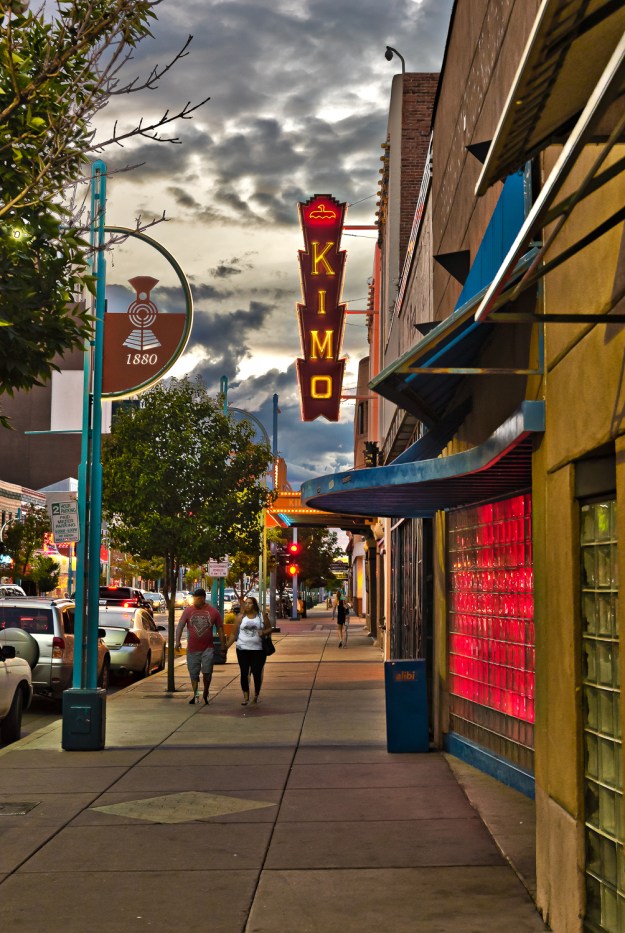
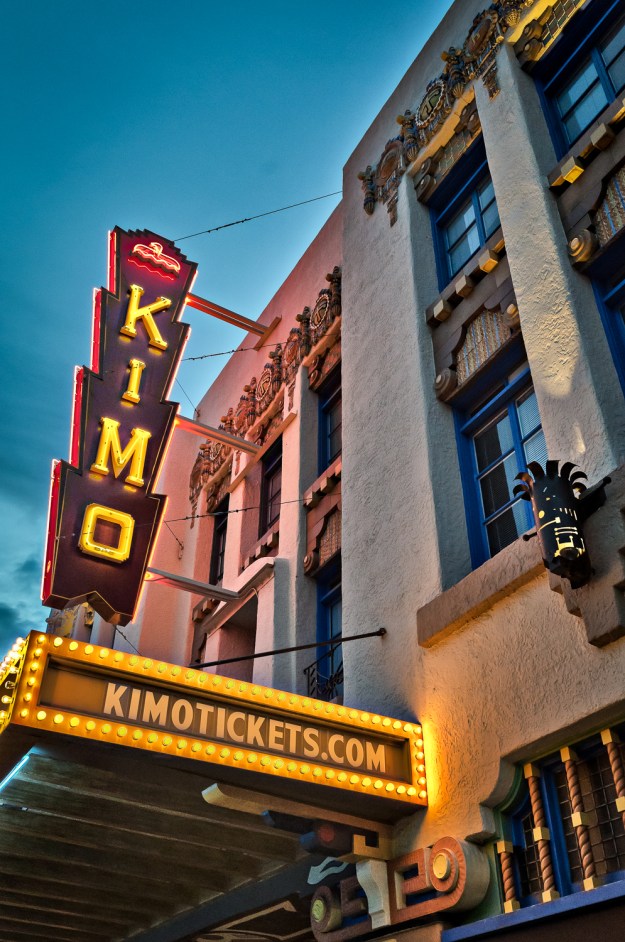
Cruising on Route 66 in downtown ABQ. A vintage car in from the Pueblo Deco style Kimo Theater. The vintage car drivers are very cooperative and slow down a little when they see the lens. ABQ has a lot of great vintage cars.
Photography prompt: Photographing light
A couple of months ago, I did some photography prompts. Recently, I reviewed these photos and was pleasantly surprised how much I still liked them. I took photos I wouldn’t normally take, and saw new things.
Now that I’m in a new place, paradoxically I am short on photo inspiration. Everything is so interesting that it can be hard to zero in, especially when work, grocery stores, bars, and walking paths are new forms of shiny distractions. So today I’m posting one of my prior photography prompts, and I hope to continue with more in the future.
Today’s prompt is “photographing light”. This is not the same as photographing shadows cast by light, it is photographing the light itself. I got this prompt from the Lynda.com photographic composition course by Ben Long. I took these pictures on the Downtown Mall in Charlottesville in the early evening, not quite at golden hour, but late enough in the day that the windows were casting reflections in interesting places.

In this picture, I liked the way the reflections from different buildings interacted, and how they contrasted with the brick pattern.
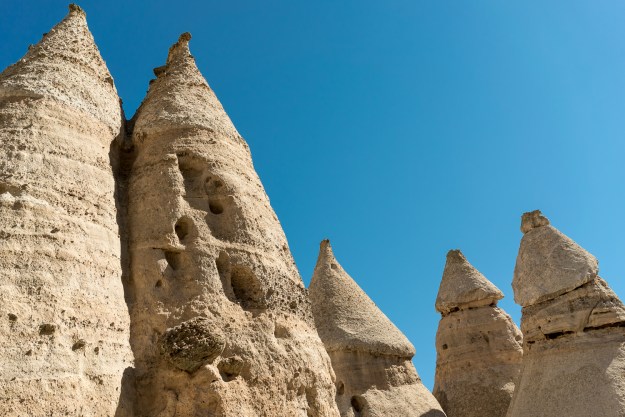
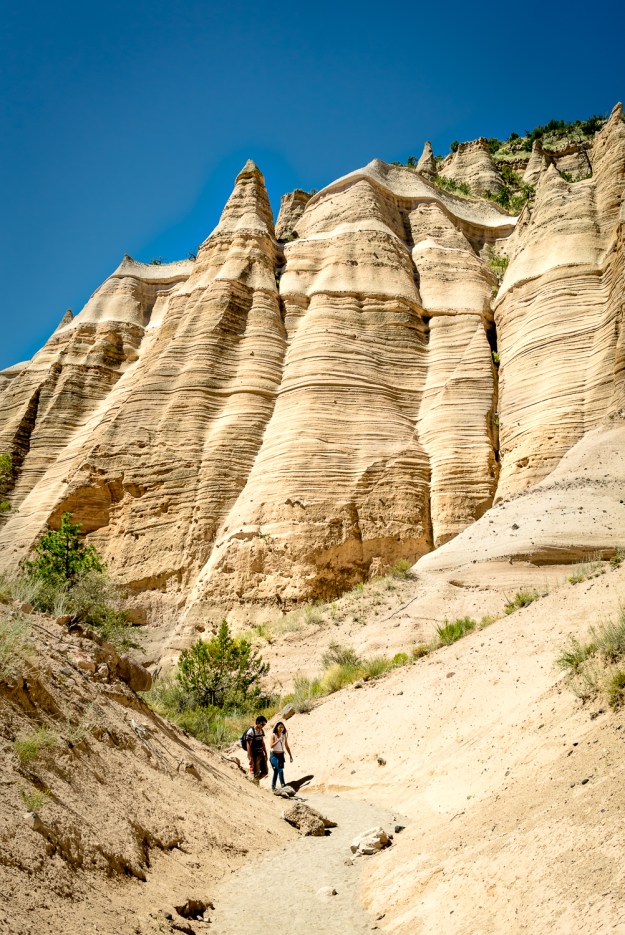
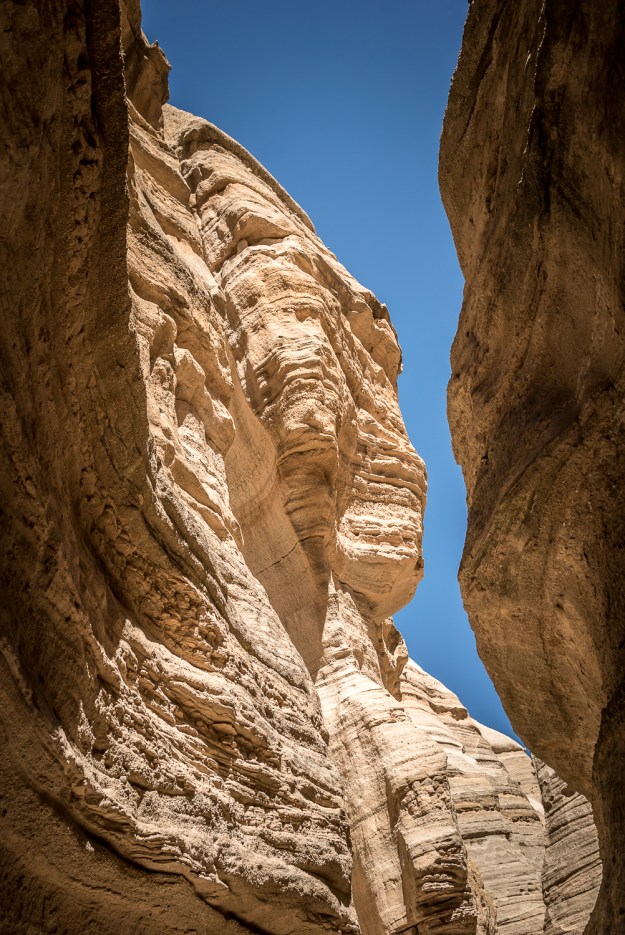
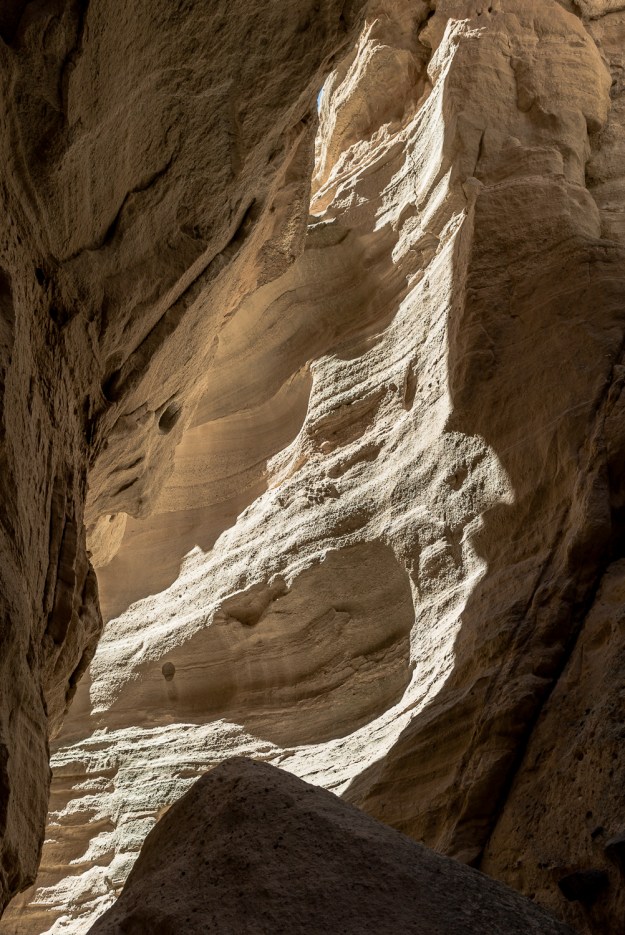
Kasha-Katuwe Tent Rocks National Monument
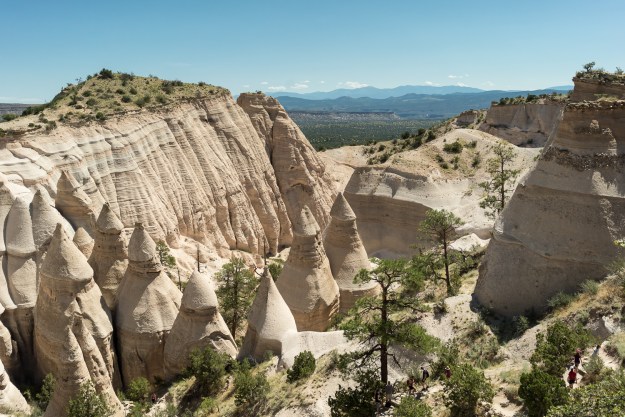
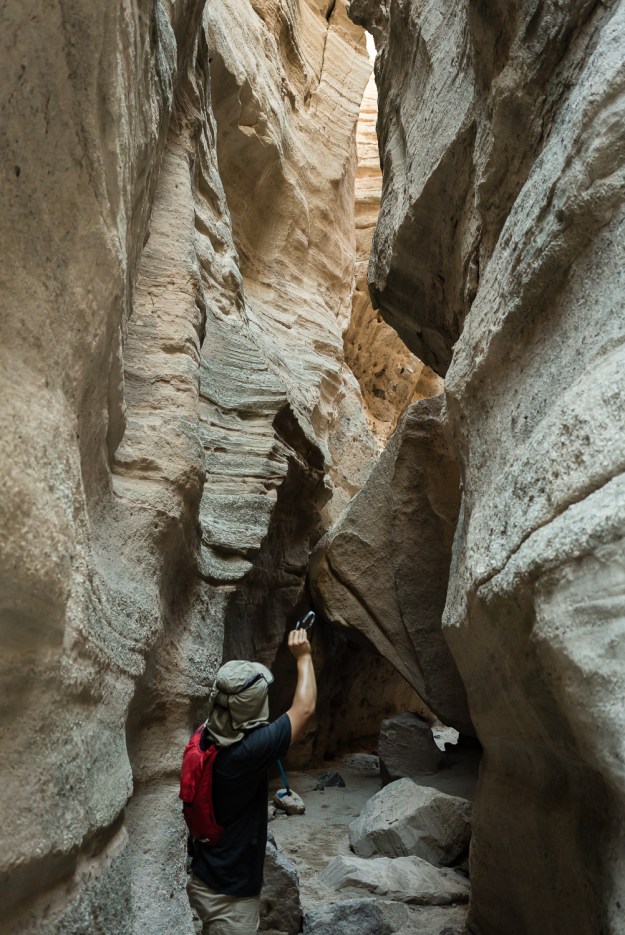
Kasha-Katuwe Tent Rocks National Monument is between Santa Fe and Albuquerque. It’s only about a 3 mile hike, with only 600 feet in elevation rise. If you want to visit Tent Rocks, arrive early, before the heat and the tour groups, and bring lots of water.
At Kasha-Katuwe Tent Rocks National Monument, you hike through a limestone slot canyon. Up above, there are formations of the most unusual shapes– some are like tents, some are like upraised fists, and some are like petrified dunes. It[s a testament to the power of wind and water in the west. My sorest muscle after this hike was my neck– from craning at all the great scenery.
Heading west
Today is my official last post from the east. I’m going to be very disorganized for a couple of weeks (I’ve already been a bit), but I’ll keep posting. It’s hard to leave a place you love, but I have high hopes for my new digs. I mean, just look at it!

Working some HDR magic on an already-gorgeous vista. All it took to get here was a terrifying tram ride!

Like, seriously, try snapping jellyfish on a camera with a max ISO of 3200. You can’t do it! Definitely enjoyed my ISO with the jellyfish tank.

World Pinhole Photography Day
Did you know that a pinhole can focus and project light? A pinhole in an opaque material is the world’s simplest camera! Yesterday was World Pinhole Photography Day.
History
The discovery of pinhole optics massively predates photography (the act of chemically recording a projected image). During the Renaissance, painters traced scenes projected onto a canvas by a pinhole on the opposite wall. The use of a pinhole to project images goes back to 5th century BC China.
 A camera obscura uses a pinhole to project an image. Renaissance painters could then trace these images. (image source: Wikipedia)
Why Pinholes?
In an age of digital cameras and high-end optics, the pinhole endures, charming and simple. In honor of World Pinhole Photography Day, I went on a pinhole outing.
You might ask, what is the point of pinhole photography in this day and age? There are aesthetic and practical reasons. I like knowing exactly how my lens works, for once. Even a prime lens can have upwards of a dozen pieces of glass in it. I have a good science background, and I can’t even touch that level of optics. A hole in black plastic. I get that. Pinholes have interesting properties. True, they don’t focus nearly as sharply as lenses. But because pinholes have such small apertures, they have nearly infinite focal depth.
Brief photography lesson: larger openings (apertures) allow more light and create shallow ranges of focus. This can be desirable in a portrait. Small openings permit less light and increase range of focus. This might be preferable for a landscape. Sufficiently small openings cause softening due to diffraction (physics of light stuff). If you shoot on an SLR, you may have noticed diffraction-caused softening on shots at f/22. The pinhole I use is f/177. This diffraction is what gives pinhole photos their texture.
The upshot: pinhole photos flatten a scene. Something a yard away will look similar to something 100 yards away. This allows a photographer to create interactions between different depths that wouldn’t be possible with a conventional lens. And finally, pinholes can create a really fun old-timey effect.
My setup
My setup is a bit like sticking a horse-drawn carriage on a rocket ship. I use a Lensbaby composer with the pinhole optics kit. My camera is a Sony Alpha 7s. Pinhole photography, due to the tiny amount of light transmitted, has slow exposure time. Exposures are often measured in multiple seconds. The Sony Alpha 7s is one of the fastest consumer cameras in the industry, with a maximum ISO of 409600. Thus, I was able to take decent handheld pinhole images even in low light by using high ISO.
The Images!
The Cherry Blossom Festival in Washington DC
Though I’ve lived in Virginia for seven years and I love to photograph flowers, I had never been to Washington DC’s Cherry Blossom Festival. I fixed that on Sunday. Since then, I’ve been working to transfer, organize and edit my 860 photos. Then my primary computer crashed in a fiery blaze, and will require repairs. But I could pull off some of the work and my favorites are below. The tidal basin in DC is lined with 2000 cherry trees, and they were all at their absolute peak Sunday. It was one of the most beautiful days I’ve ever enjoyed. It was packed with people, which I usually hate but Sunday they didn’t matter.
Check out full size images as well as several enormous panoramas here.

