Tag Archives: make

Making Lovely Books

As my blog might reflect, I have a tendency to lurch from one area of interest to the next. Last week, my interests moved again to bookbinding. The pile of lovely paper and fabric sitting in my office called out. (hollanders.com has some lovely stuff.) So I tried a few new things.

The book below is covered with Japanese linen. I used an exposed stitch on the spine, and exposed linen tape. This is the first time I’ve cut a hole in the cover. Appropriately (see last week), I found a Hiroshige painting in the creative commons to use in the hole.

SONY DSC

Next I made a book that closes in the front with a bone clasp. The cover is black imitation suede.

SONY DSC

Finally I did a more formal binding of my Zish and Argo story. It’s a pretty simple binding with only a single 7 page signature, but I’m really pleased with the way it turned out. In the second picture below, you can see one of the spreads. All of the illustrations are digitized watercolor paintings.

SONY DSC SONY DSC

The Joy of Maps

I love maps. Not the ones that are useful, really. The decorative ones, or the ones that accompany a novel. The useful ones have a sort of dryness to them. I was never a big Tolkien fan, but I liked his maps a lot. Vernor Vinge’s “A Fire Upon the Deep” has a map of the galaxy, and I found that added to my enjoyment. I like historical maps too; you get an insight into past culture that comes much more slowly from print. Old maps sometimes have amazingly different spellings and different borders (Capp Codd instead of Cape Cod, for example, on an old american map). Old city maps reveal the old structures that gave rise to the city of today. A few years ago, the university museum had an exhibition of old maps. A lot of these maps remain available online as well.

In school, I used to dream up exotic places and cultures. I’d sit at my desk and draw up a new world. I’d imagine the cultures of the various regions. How the geography might influence the overall culture. Of course how the various different planets would interact.

In many ways, Vironevaeh, the universe I’ve played in since I was 10, began because of a map. In 5th grade, we were required to invent a city and imagine what kind of climate, government, and culture it might have. Part of the assignment was to build a diorama of the city. I did a poor job on it (long-term projects weren’t a skill of mine at that time), but the seed had been planted. With the map, I had a connection to the place. Over the odd years of middle school I invented an alphabet, a planet, and several dozen playmate planets. Almost 16 years later, long after the death of that diorama, Vironevaeh lives on. The map of Naenaiaeh, below, is about 10 years old. I’ve been slowly making other maps over the years.

(Side note: I’m not sure if anyone checks this blog on its schedule; you may have noticed my schedule was awry last week. I try to post Monday-Wednesday-Friday. I missed a couple of posts last week due to three days of power outage (brr). But I had a lot of time sitting in front of a fire to dream and imagine new ones!)

map naenaiaeh

The sister planet to Vironevaeh. On Naenaiaeh, the people missed earth, and thus re-used the old names from home.

map silveriaeh

Silveriaeh, a planet of almost no water (I did so like the -aeh ending). Dark brown lines indicate fault lines, blue indicate rivers.

map Menekenesthete

Paper engineering (AKA: pop ups!)

Everybody love a pop-up book. The well-executed ones are a thing of joy. I got a pop-up book as a kid about dinosaurs, which I didn’t care that much about, in French, which I didn’t read. I read that thing to its grave.

Recently, I see more pop-up books in stores, aimed at more than just children. These books are made by not artists, but paper engineers. As an engineer, I approve of this shift in language. Perhaps I should strive to be a word and paint engineer, rather than writer and illustrator. A few years ago, I bought Moby Dick, as done by paper engineer Sam Ita. Amazon lists a few of his books here. He even has a pop-up Xmas tree, if you’re still looking. His Moby Dick is wonderful, with whirling whirlpools and ships complete with rigging and a looking-glass.

I have started my own attempts at pop-up (shown below). A fun project, but one on hold for now because I’m not sure how to put them together with any kind of efficiency. If you’re interested in learning about pop-ups, I have used a few books to guide my exploration:

popupHappy paper engineering!


Getting creative with a printer

Last year I got a medium format pigment printer (epson r2000). With research, you can get a decent deal on these kinds of printers. I purchased mine for $300 (with rebate) while it now lists for $550 (but remember, the ink is always a swindle). If you know how to use color profiles and tune your screen’s color, these printers can be a ton of fun. Printing photos was the main motivation for my purchase, but the other less expected uses have been equally exciting.

Watercolor painting and pigment printing

Pigment inks are waterproof after they dry. Long ago I learned the hard way that normal ink jets are not waterproof. This feature of pigment inks has helped my watercolor process immensely. Now I can do line art on low quality paper. Then I scan the line art in and I can digitally fix it. This can mean a number of things: I can remove a badly placed stroke, or I can rearranged items in space. For the Zish and Argo stories, I did preliminary line art, and moved things to satisfy the needs of the page layout.

Once the line art is optimized, then I can print to the expensive watercolor paper. I probably only use half of my preliminary line art, which is an awful waste of premium watercolor paper. But now I can be efficient. Printing line art is additionally attractive because it uses little ink. Additionally, I can print several copies, and have several chances to get my work just right. I did the featured image art using this procedure.

Printing on fun materials

The printer can also print to some fun surfaces. It can print to basically anything you feed through it, like poster board, wood, foam board, canvas, or other sufficiently heavy fabric. Obviously, it can also print to any sturdy paper as well (I print frequently to drawing and watercolor paper).

I recently did my first project printing to canvas. I then used this canvas to cover a book, shown below. This canvas is also designed to stretch over a frame like any canvas.

Any additional ideas on creative printing? There’s nothing better than using a tool on hand in a different way.

Upon Book Binding- Getting started and some useful things

Book binding is pretty simple. I do not mean it is necessarily easy or fast, but that you do not need much equipment or knowledge to get started. I think when I first started binding (not much more than a year ago) that this knowledge was a big surprise to me. So, if you are interested in trying your hand at binding, take heart!

Most of what I have learned came from three sources: observation, YouTube videos (such as this one on the coptic stitch style), and this nice book on book craft. With the help of the library, this info is all free.

I once imagined that bookbinding required extensive tools. It is true that the books themselves take certain special materials (you can’t fake nice paper, for example), but the tools required for putting them together is dead simple. I use four g-clamps and a couple well-bound oversize books, shown below. Every book I have ever made was with these four clamps and these two books. Very soon I will be making myself some new presses according to this tutorial, except that I intend to use cutting boards instead of fiberboard.

The only truly essential materials are strong thread (beading thread or linen thread works well), paper, an awl, a cutting board, a cutting implement, book board, and copious quantities of elmer’s glue. I like to order my decorative papers and cloths from Hollanders, and most other supplies like book board, elmer’s glue, and linen thread from Amazon.

The first few times I made books, they were not great looking. There were two primary reasons for this: 1) I did not let the glue dry sufficiently before moving to the next step. Then when I did the next step, the unset material would wrinkle, bubble or tear, and 2) Some papers are really unforgiving and will bubble and wrinkle very easily. Copy paper for example is not designed to be absorptive, and thus takes some skill to handle. I recommend starting with drawing papers or high cotton content papers. These papers will not buckle with too much glue or bubble with too little.

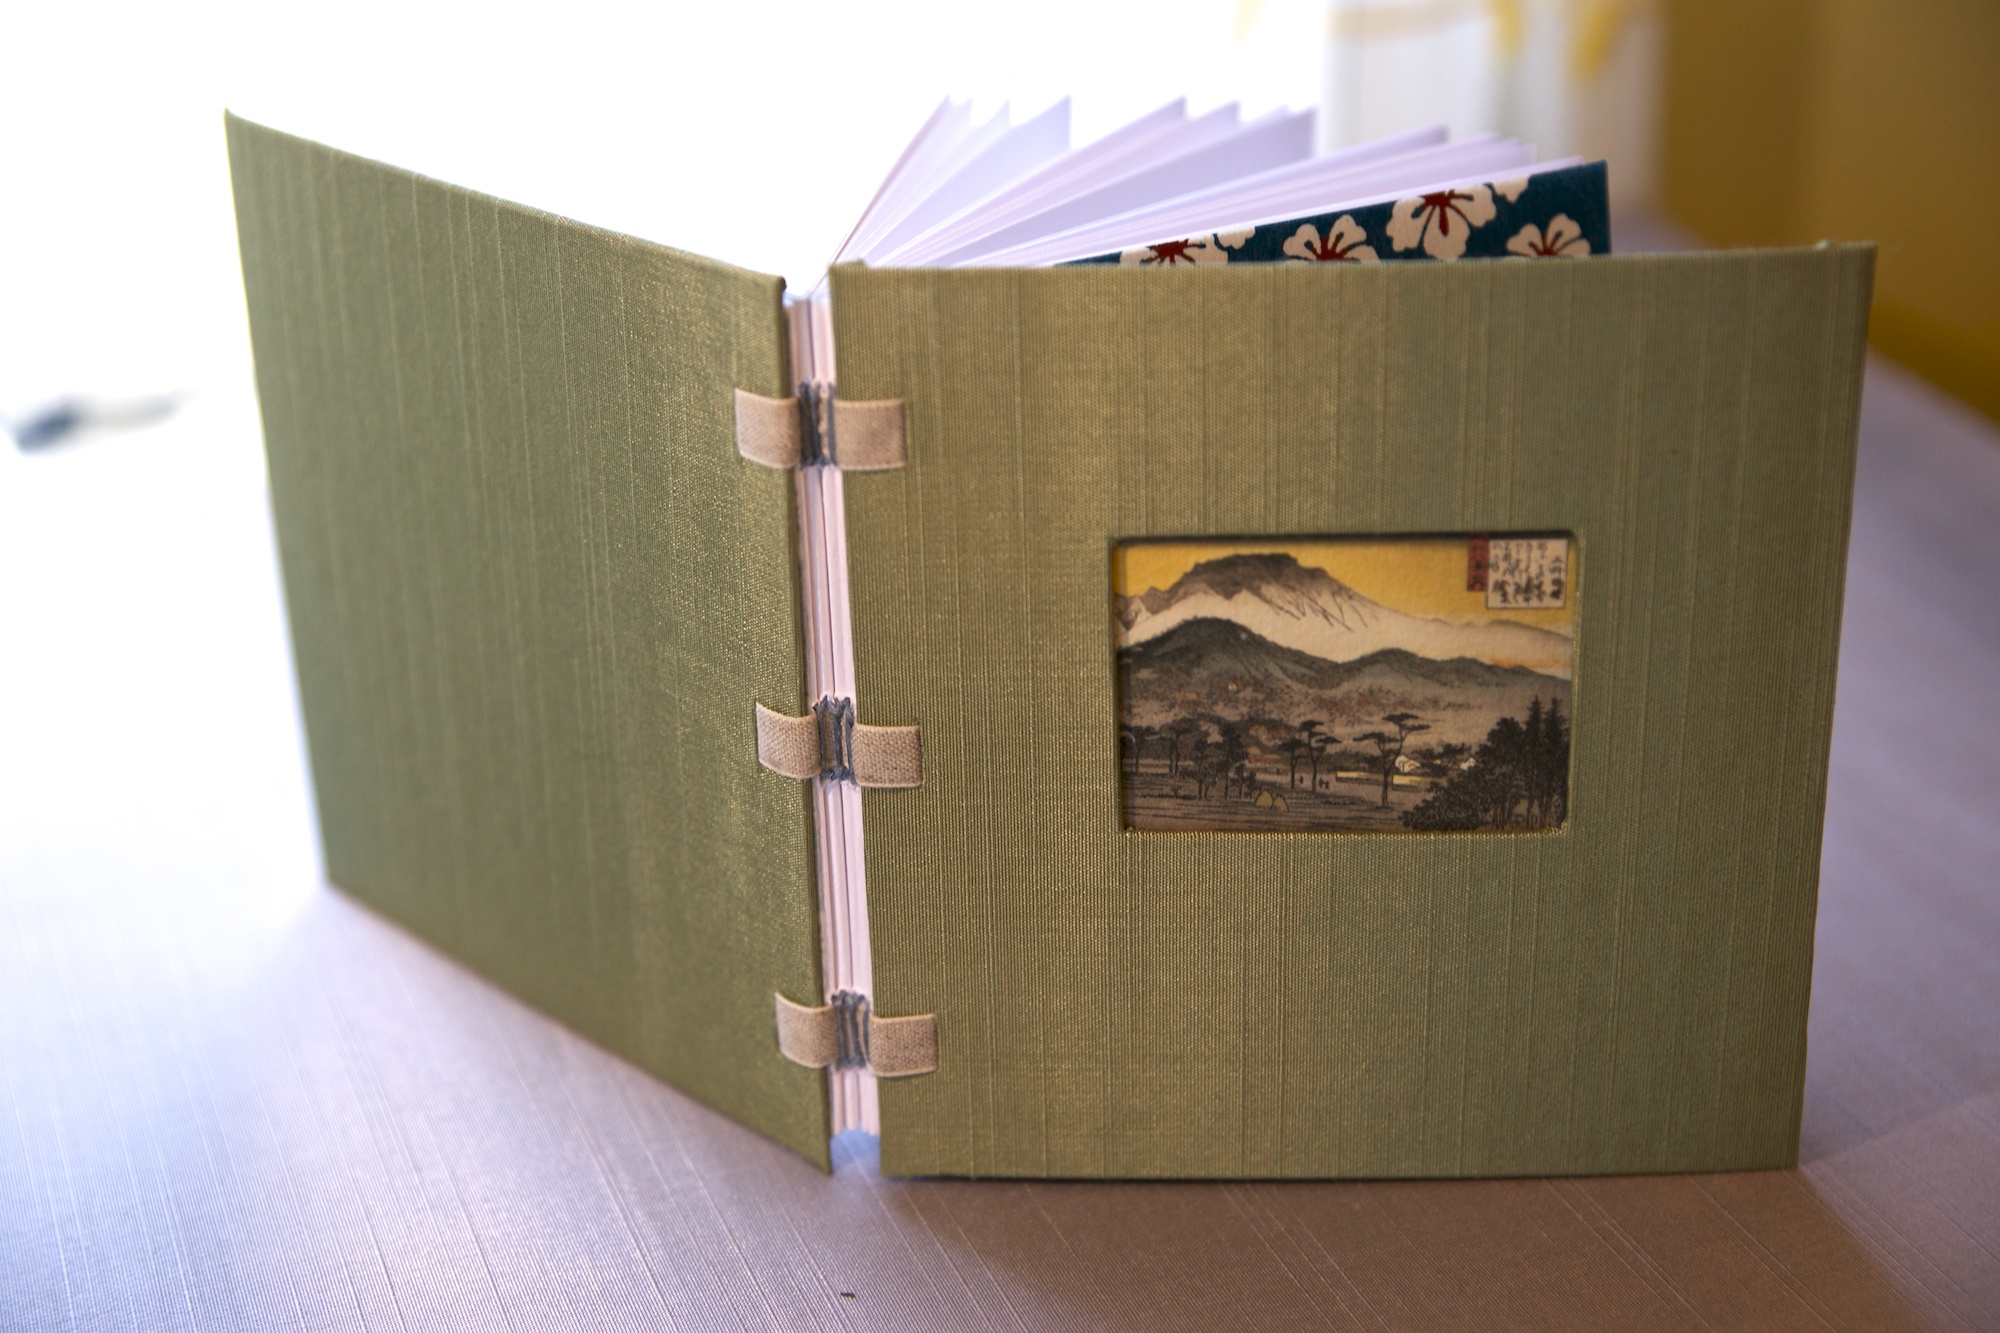
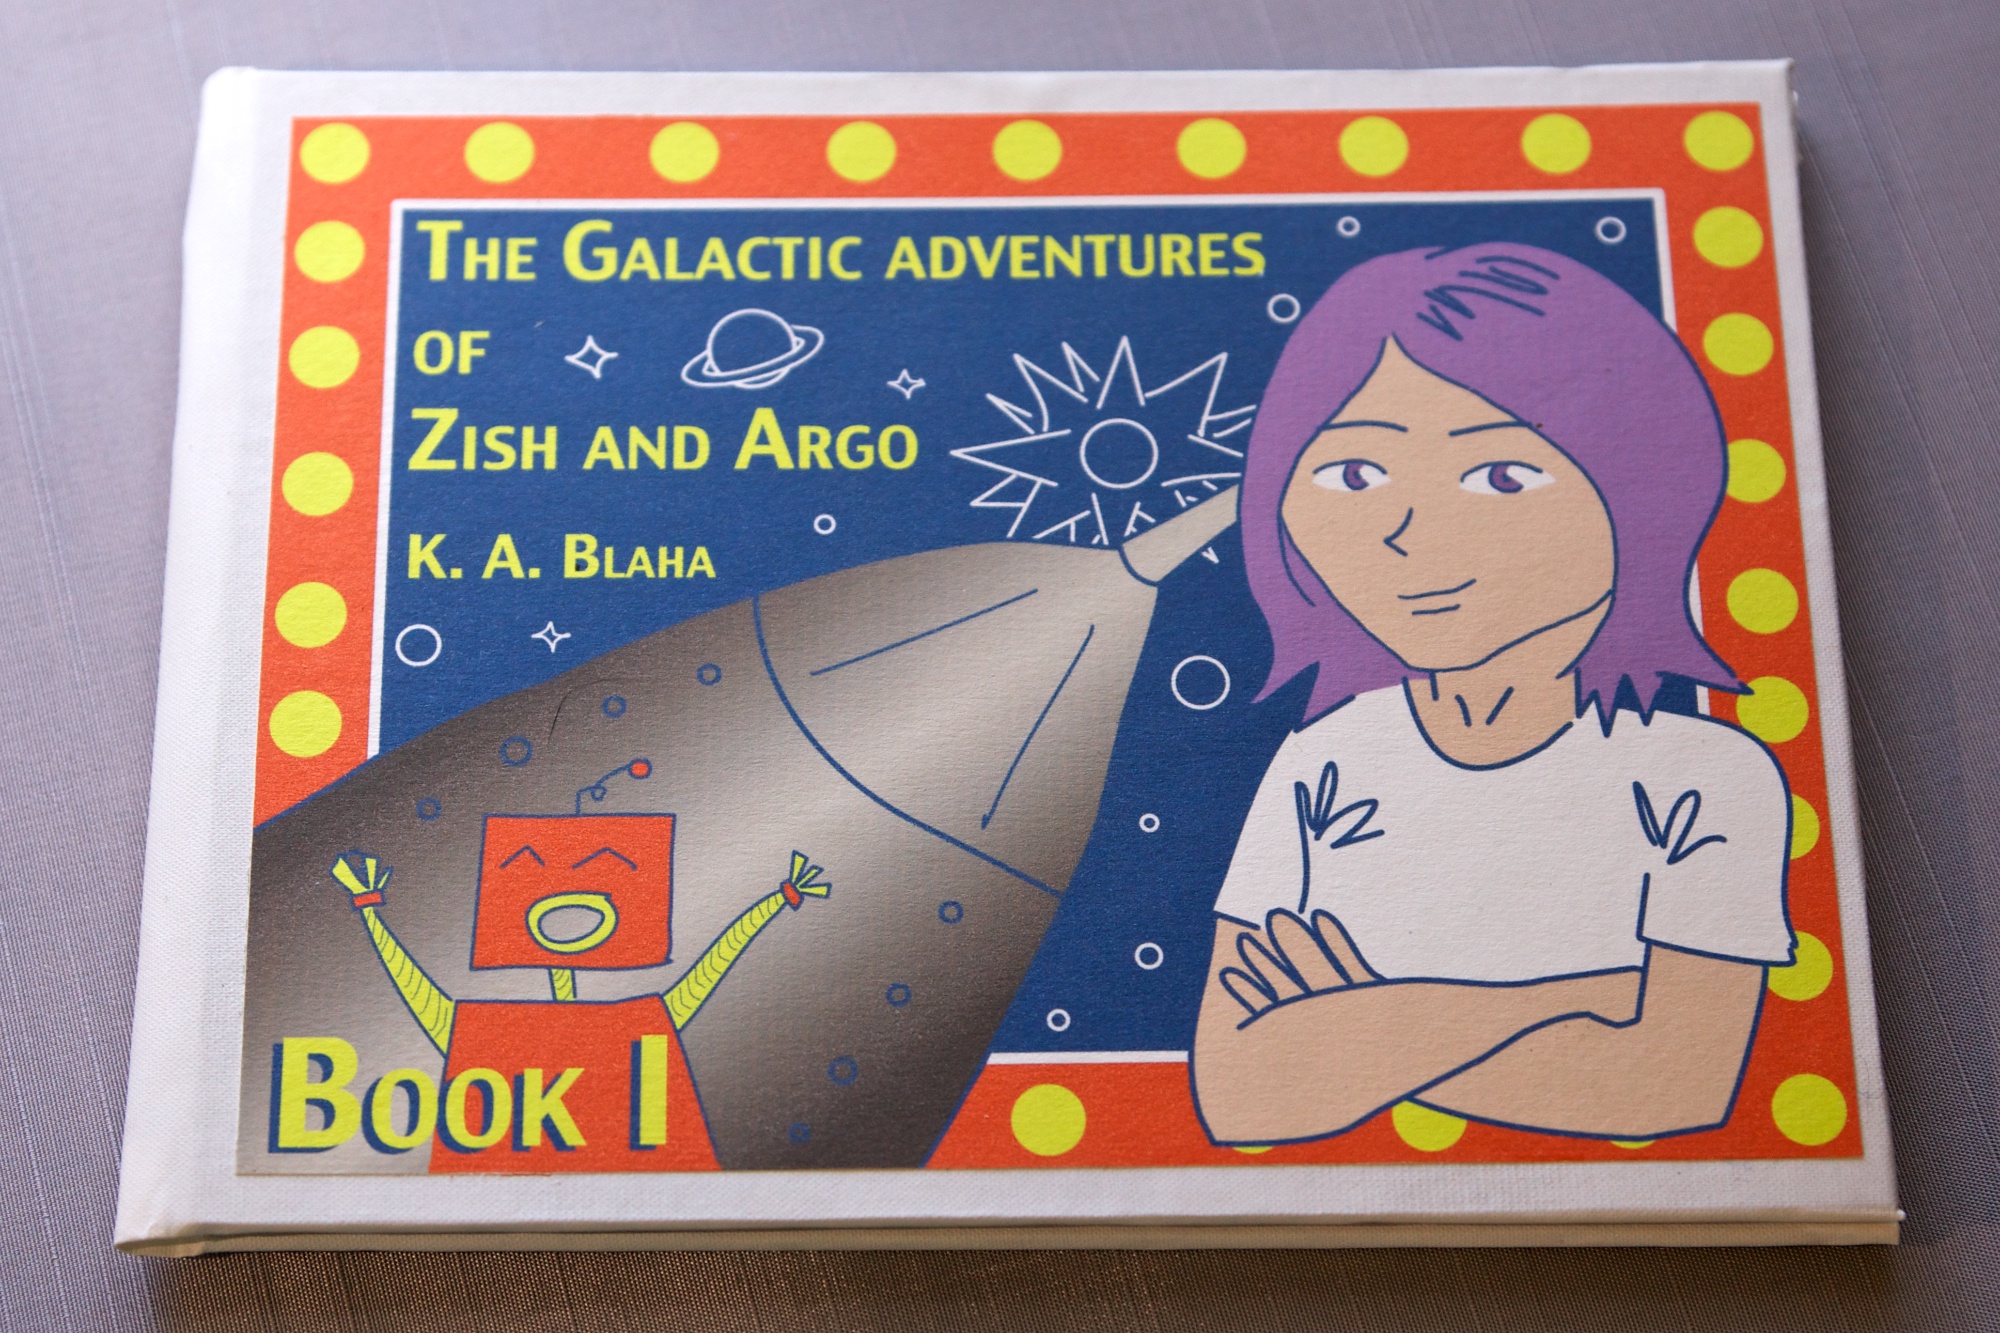
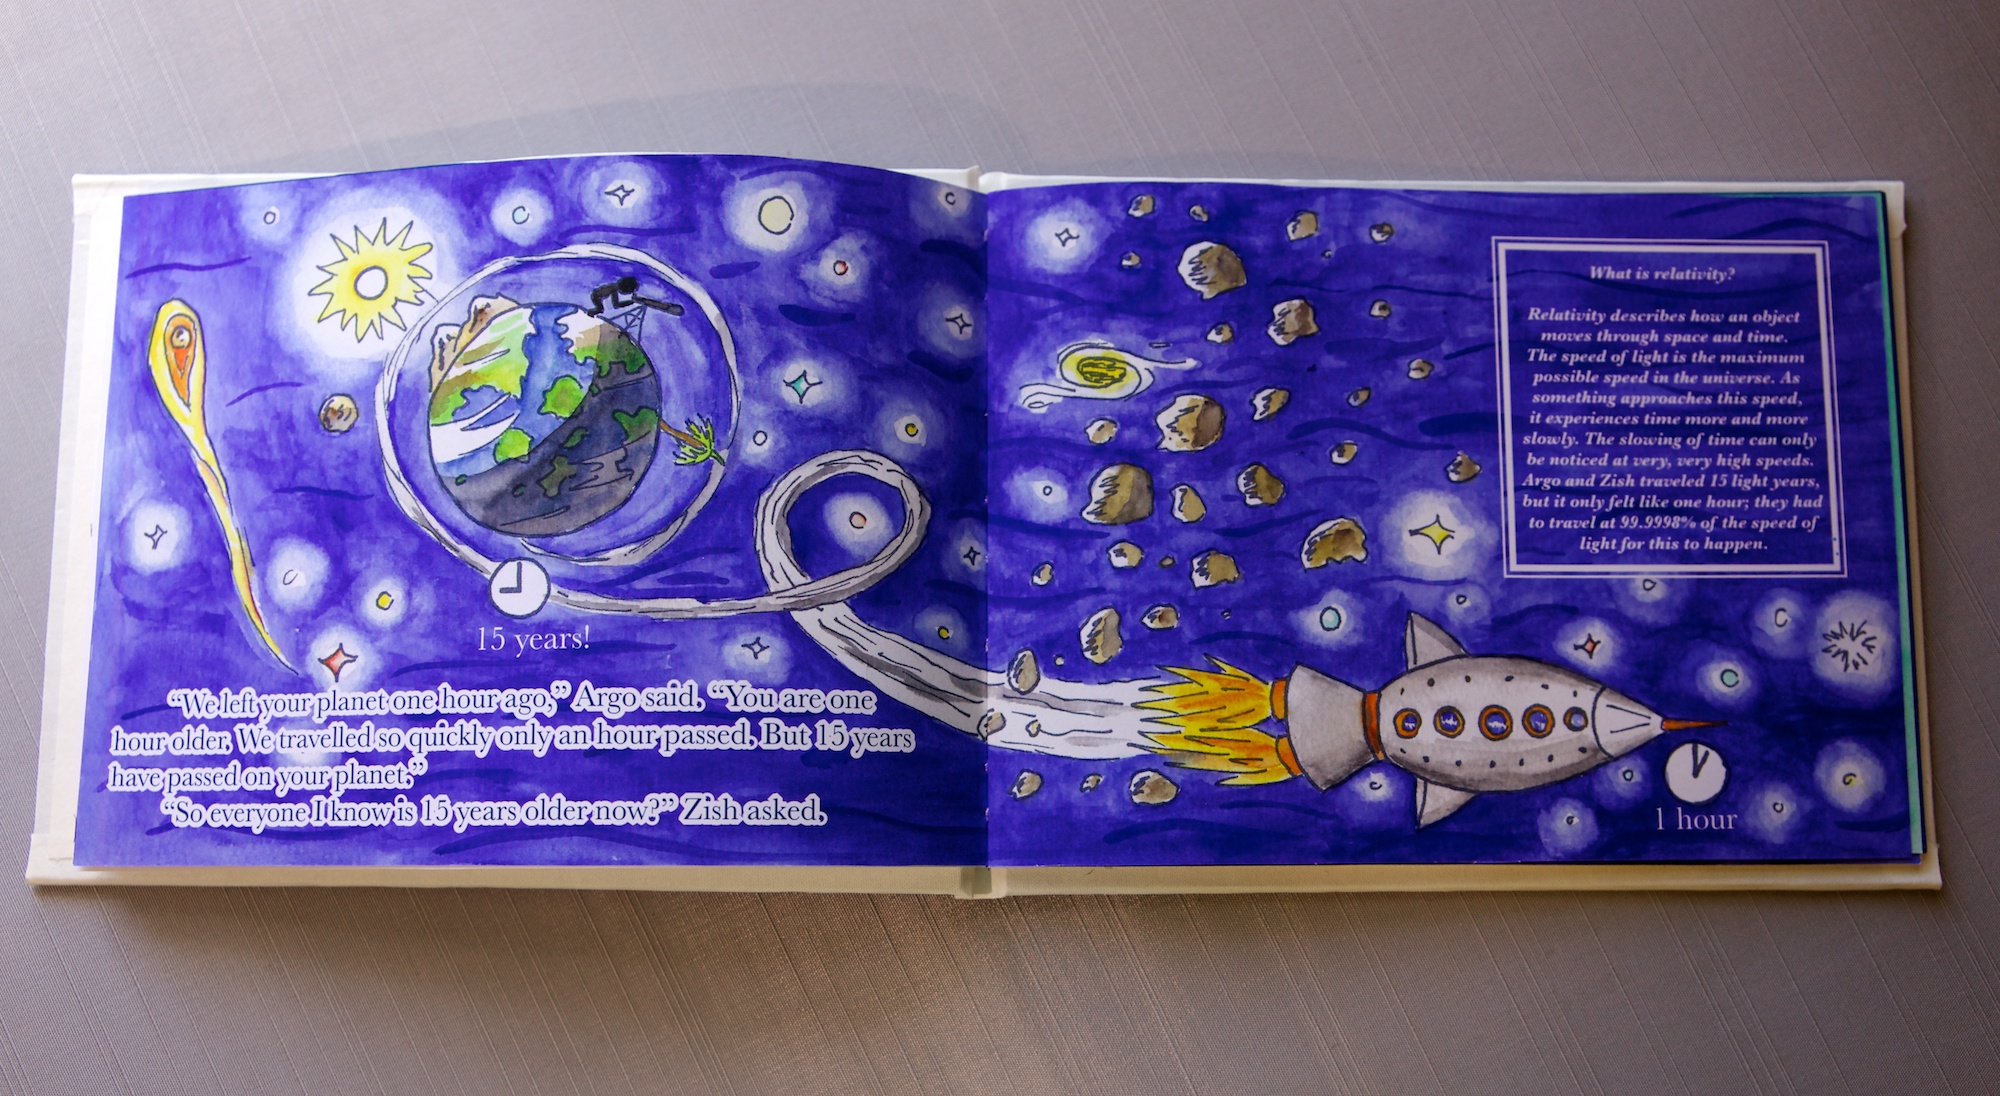
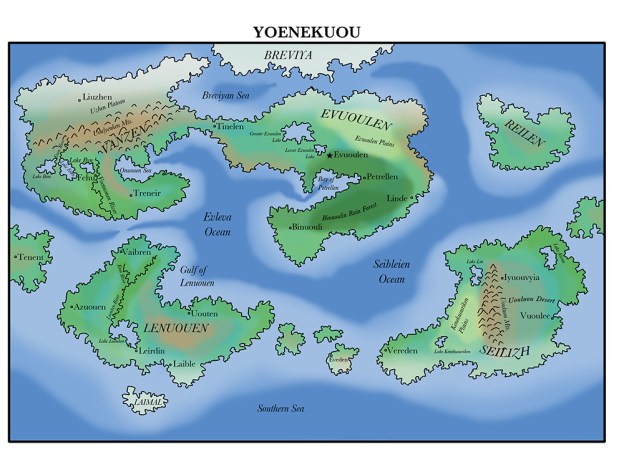
Below are four books I did in the first six months of learning. You can’t see here, but all of them have some little wrinkle or foible here or there. Each was still really exciting; I still had made books! I hope this little discussion is helpful to anyone who is interested, or getting started. I find joy in every book I put together, sometimes to an extent that seems strange. For more pics (of more recent efforts), or if you are interested in my books, check out my Etsy store.